Tuesday, 24 January 2012

Doctor Doctor

So I was asked just before Christmas to create a celebration cake for a doctor who had just received a proffessorship. The request simply asked for a cake which said 'proffessor who?' on it and had a novelty character of a man with black curly hair in a suit. I was also told the doctor in question liked singing and so I also added a microphone and speaker, along with some text books to the top of the cake. This was my first ever attempt at a novelty person and I was pleasantly surprised at how well my little doctor turned out! I have since heard that the novelty character in question has been kept by the doctor and now lives in his kitchen :) So all in all I think this cake was a success, and hopefully the first of many novelty characters on my cakes.


Wednesday, 28 December 2011

Rudolph the red nosed cupcake

So just a quick blog post here showing you all the christmas cupcakes I made the week before christmas. I made snowman cupcakes, rudolph cupcakes and christmas trees. I enjoyed making these little cupcakes and they got me very much in the christmas mood.


I hope you all had a lovely christmas, I got spoilt rotten. I will share my goodies with you all in a post very soon :)

Saturday, 17 December 2011

Tis the season to be...baking!

Ho ho ho, merry christmas everyone!!! So first of all I must apologise for not posting in so long, things have been quite hectic as of late, don't feel like I have had a minute to myself in ages. I have, however, still been baking away :)

My Movember cookie cutters sadly have still not arrived! So no moustache cookies just yet, in contact with the company who I ordered them from to get that sorted. In the meantime I have baked a number of christmas cakes to give as presents to neighbours and friends for the festive season.  I used patchwork cutters for them all, which have been a relevation, very easy to use and give a good effect, they just take a bit of time to get used to. In total I have made 1 reindeer cake, 1 penguin cake, 1 twelve days of christmas cake topper and 1 angel cake topper....onto a range of festive cupcakes next, I can't wait :)

So anyway here are two of my festive cakes:


This reindeer cake was fun to make, I enjoyed using my new festive snowflake and gold sparkle dust to add the finishing touches to this cake


My penguin cake also got a big coating of the sparkle dust and some glitter too, at christmas I don't think you can ever have too much glitter or sparkle  :)

Tonight I have been baking up a storm, 36 cupcakes made ready for decorating in three different christmas themes tomorrow and my first cake decorated with a novelty sugarpaste person on top.....these will be shared in a post later this week. I am also making a birthday cake for a friends daughters first birthday over the holidays, so I will be sure to share that with you too!

Wednesday, 2 November 2011

MOvember Madness


So as some of you may know and some may not, the month of November in recent years has seen a rising number of men with hairier faces than usual.  This is because November has now become MOvember, this is a month in which men are given the opportunity to grow moustaches and raise a bit of money for mens cancer charities whilst doing so.  The MOvember movement is not only great fun and a source of humour as the moustaches grow and flourish (or not in some cases lol) over the month, but it also helps raise awareness and much needed funds for mens cancer charities, which are often overlooked in relation to other cancer charities. 
The MOvember movement is something which is very close to my own heart and as such, last year I roped as many men in my work as I possibly could into growing MOs for the month, and the month culminated with an awards ceremony, where me and a few other girls also sported false MOs for the day (hence the picture of me above!).

So this year my fiance is taking part in Movember for the second year running, but I felt like sponsoring him was not enough, so I took a wee look at what they had in their merchandise section and how pleased I was! I have now ordered myself a set of MOustahce shaped cookie cutters, with 1/3 of the cot being donated to Movember. 

The cutters have not arrived yet, but when they do I intend on making lots of MO cookies and flogging them to raise yet more money, I cant wait until they arrive!

If you want some yourselves and want to contribute to a great cause you can find the cutters in the merchandise section of the MOvember website. You can also find out more about the movember movement here: http://uk.movember.com/

Saturday, 29 October 2011

Trick or Treat?

                                                          Happy Halloween everyone!
I am all in the halloween spirit (no pun intended) after just finishing 36 halloween themed cupcakes ready to be delivered this morning.  When asked to make some Halloween cupcakes of 3 different types I knew first of all that the werewolves I had made previously for a friend who is a major twihard (twilight mad fan, incase you didnt know), and team jacob of course (thats the werewolf, not the vampire), were a definate as they are relatively easy to make but the final result is great.  For a detailed guide on how to make werewolf and other fantastic novelty cupcakes I would thoroughly recommend the book 'Hello Cupcake', its available on amazon, and although its an american book and a lot of the ingredients and sweets used for decoration are quite hard to get it is normally pretty easy to find alternatives. 

Here is a quick rough guide from me though for those without the book-

Werewolf cupcakes, How to:
1. Bake 12 chocolate cupcakes.
2. Cut marshmallows out and stick in place as ears and snouts (with sections cut out for mouths), see below-
3. Once your marshmallows are cut out, use a cocktail stick to paint the inside of the mouths red.
4. Make up a batch of chocolate frosting and start piping over the whole wolf in small sections to look like fur. Leave a small section of pink marshmallow showing through in the ears if you wish and leave the open mouth frosting free.
5.Now add 2 smarties or m&ms in the same colour for eyes.  Finally pipe black icing on for pupils in the eyes and to add a nose.
6. Add white icing on the top and bottom of the mouth to look like teeth.

There you have it, spooktacular werewolves ideal for Halloween parties, Twilight Fans or even kids birthday parties.
Now my first batch of halloween cupcakes were finished I now just had to trawl the internet for inspiration for the other two sets of halloween themed cupcakes.  After much deliberation I finally settled on spiders webs, complete with a plastic spider ring on the top of each...

and some marshmallow flavoured Mummies:

Finally, here is a picture of some of the final cupcakes prior to being packaged up ready to be delivered:

Have a Spooktacular Halloween everyone!

Sunday, 23 October 2011

Green Fingers

This is the second part of the sugar paste roses tutorial I added a week or so ago.  In this post I will demonstrate how to finish the roses off and make all of the greenery associated with sugar roses.

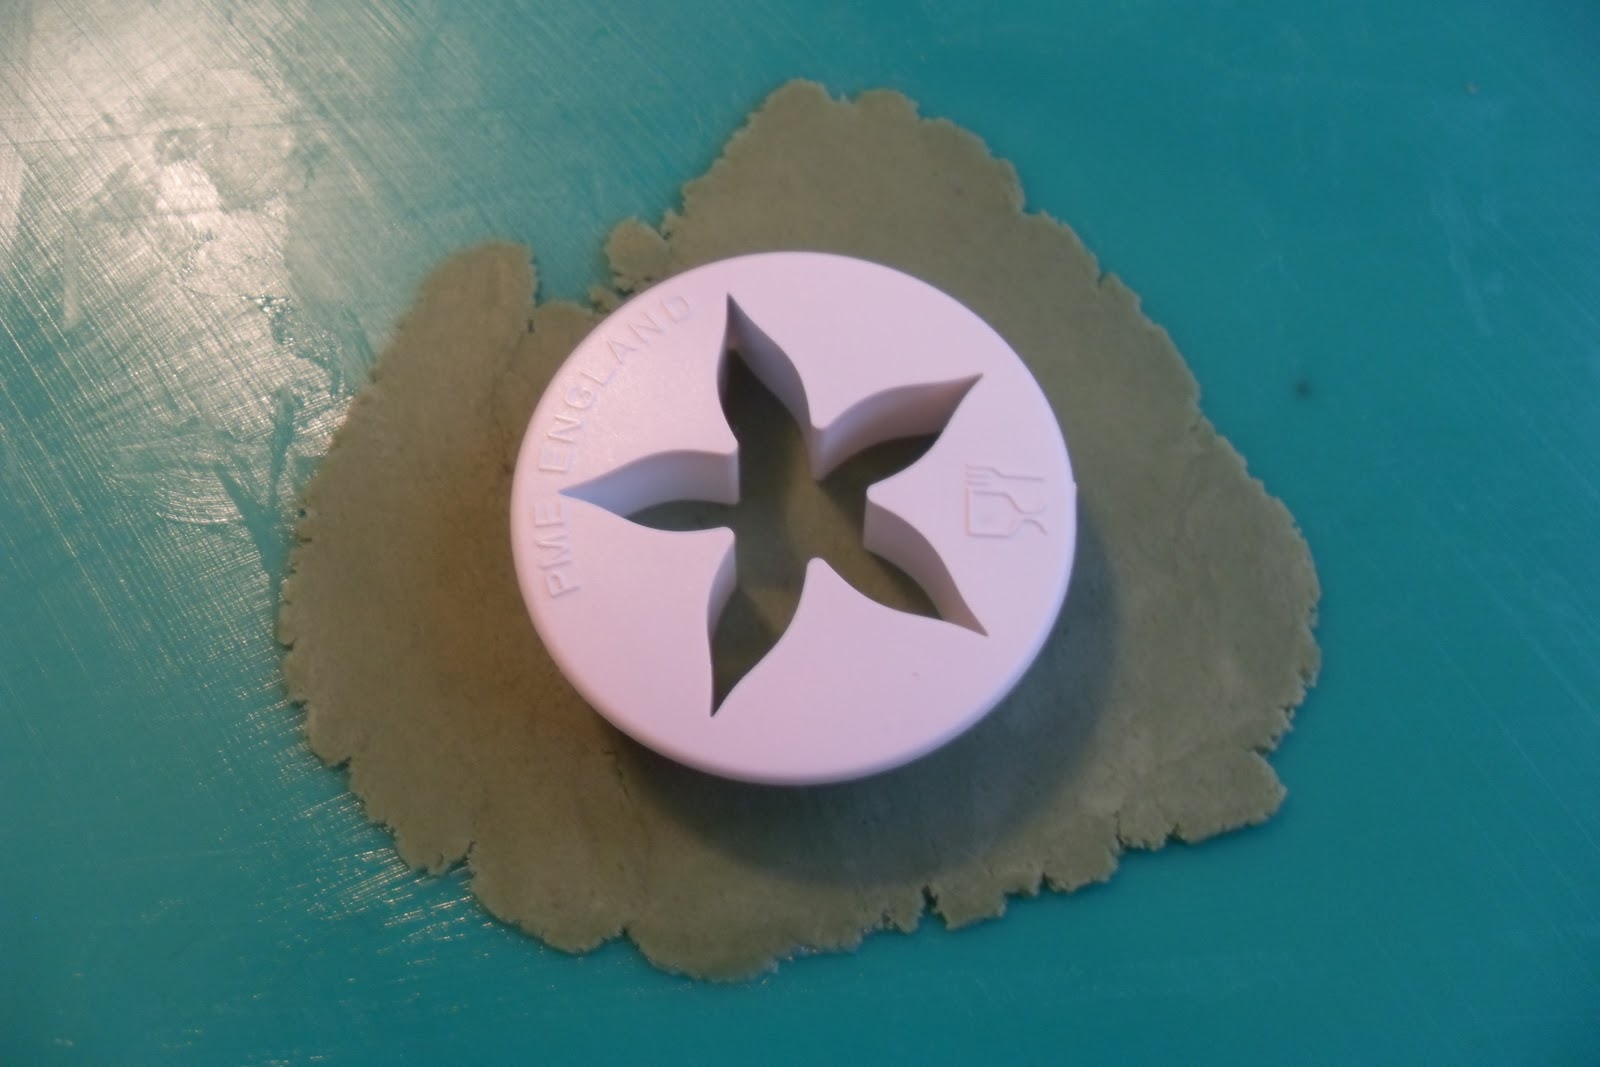
First of all you need to make a clayx for the base of the rose, this is the green 'petals' if you like at the base of the rose.  For this you will need a calyx cutter, you can get various sizes depending on the size of your roses.


Once cut out, glue the entire calyx and thread your onto your rose wire, then once in contact with the rose glue the calyx in place, curling the corners of the leaves down if you wish.


Once this is done, add a small knob of green sugar paste to the base of your rose and leave aside to dry.  Now you can make you leaves. First you need to roll a small sausage of green sugar paste and thread a thin gauge wire into one end. Once the wire is in place you need to roll the green paste with a narrow rolling pin, either side of the wire.  If you roll direclty over the wire it is likely to pierce the paste this is why you roll either side of the wire.


Once this is done, ensure your paste is not stuck to your board and using your rose leaf cutter, cut out your leaf, place the top of the cutter near the top of the wire within the paste, and trying to ensure the wire runs donw the centre of the cutter.

 Once your leaf is cut, you can then use a veiner to add leaf veins, I however, normally use real rose leaves stuck on either side of the sugar paste least and pressed into place to provide realistic veins for my leaves.


Once your leaf has been cut and veined, with a small paint brush you should set about highlighting the veins with a dark green dust, and highlighting the edges of the leaves with a burgandy dust. Once you have dusted your leaves you need to glaze them and leave them to dry.


It is normally best to make up as many leaves as you require in whatever sizes all at one time. Generally roses have symetrial leaves going from larger to smaller leaves, with 1 large leaf in the centre and two smaller leaves either side of this.  Some smaller leaves can then somethimes be found on down the stem.
Once all your leaves and the rose calyx has dried you need to set about covering the wire on each with florists tape (normally cut in half up the centre, as it is usually too thick for such narrow wires). Once eash has been covered in florists tape individually you can then set about putting them together in whatever format you think will look best.
I added three larger leaves to the top of my red rose and a smaller leaf at the side lower down. That is then your finished rose ready to be used in decorating, just remmeber if placing the rose directly into a cake to use a flower pick so the wires are never directly inserted into the cake.

I have also now learnt how to make blackberries, blackberry leaves and rose hips, any combination of which can then be added into a section to provide more colour and interest and cover a larger section of any cake.

The final picture here is my largest bunch to date, including blackberries, rose hips, a range of roses in different sizes and at different stages of bloom, rose leaves, blackberry leaves and even a little blackberry flower.  I was really please with how it all turned out and hoope to add to it and use it on a cake in the near future.

Tuesday, 18 October 2011

Sleepy cat

It was my friends 30th birthday last week and she was coming round to our house on saturday night for some drinks before heading out for a boogie to celebrate. She is cat mad and is hoping to get her very first cat in a month when she moves into a new house with a garden.  She had been telling me how she really wanted a white cat, so after my blog post a few weeks ago with the sleeping cat cake which inspired me, I decided to make her a sleeping white cat cake for her birthday.

As there were only a few of us heading out I made just the cat and not the cushion cake underneath as I thought that would be a bit too much cake for so few of us!  I started by baking two round victoria sponge cakes and left them to cool.


Next I added the bottom cake to the cake board and cut it into shape, I then added a layer of jam and buttercream I then added the top cake and carved it into a more cat like shape and added ears.


Next the cake was covered in a crumb coat of buttercream left to set and then another buttercream layer was added to smooth the cakes shape.  I then added rolled fondant in white over the top of the cake and smoothed into place.


After the icing was in place I decide it was all a bit too white for my liking, so added some grey patches to the cat.  I then iced the cake board to look like grass and added flowers.  Finally the cats features were drawn on with a food colouring pen and I added a tail, and two front paws (the back two supposedly would be tucked in under the cat). Finally I added some plastic white cocktail sticks as whiskers ET VOILA, one sleeping cat cake.


I was reasonably happy with the final cake although I think I made the mouth far too big and was thinking more cheshire cat than normal cat, but hey a happy cat isn't a bad thing and my friend seemed very happy with her cake when I gave it to her :)

It national baking week this week, so I hope everyone is making lots of scrummy baked goods to share, I am currently in the midst of baking a batch of 36 halloween themed cupcakes for an 'order' a family member has put in, I will share the results when they are finished. In my sugar craft course this week we are being shown how to make a 'whizzy the witch' for hallowee, so can't wait for that either, I will maybe run a blog post on this at a later date.