Hi everyone, so I am currently enrolled on a sugarcraft course one evening a week. It is a 15 week course and I am already on week 5 (time is flying by). So I decided to start sharing some of what I have learnt on my course and I am going to start with sugar roses. I will cover this in two seperate posts with the first half explaining the rose itself and the next post describing the greenery (leaves etc.)
SUGAR ROSES INSTRUCTIONAL, PART 1:
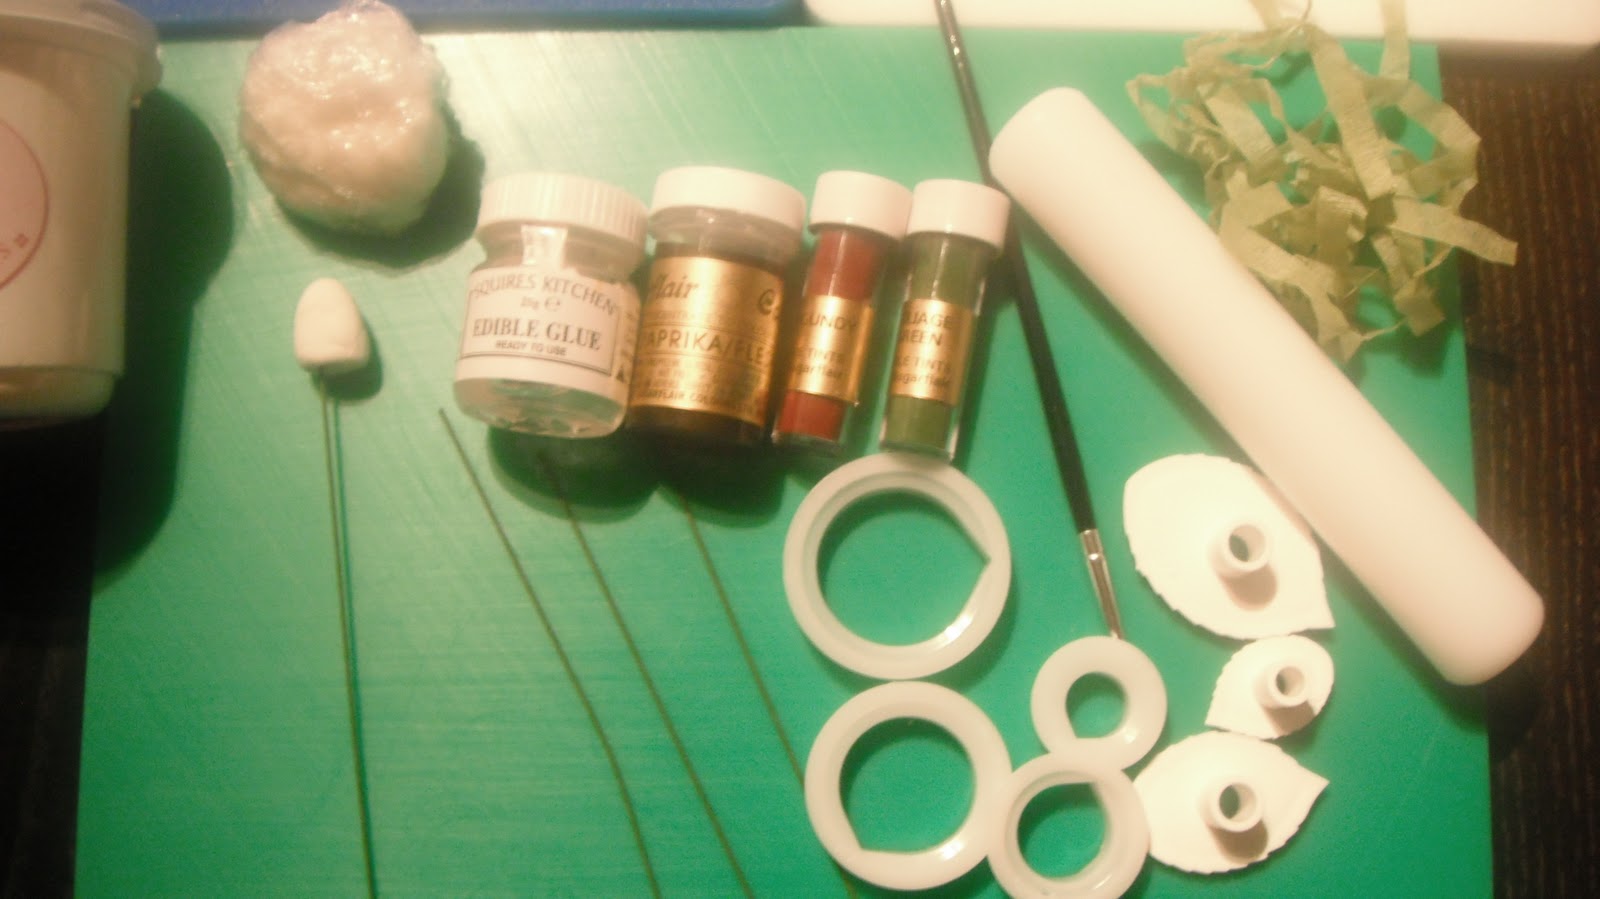
So first off here is what you will need to make your own sugar roses and greenery:
*Florists wires (30 gauge is recommended)
*Florists tape (to cover the wire)
*Sugar paste (whichever variety you prefer)
*A large rolling pin
*A smaller rolling pin
*A sugarpaste board
*A foam pad
*Sugarpaste colourings and dusting colours to match the desired colour of rose.
*Edible Glue
*A paint brush
*Rose petal cutters
*Rose Leaf cutters
*Rose Leaf veiners
*Sugarpaste Glaze
1. Rose Base: So once you have everything and are ready to make your first rose you need to roll a piece of sugarpaste (any colour as it will end up covered, although I normally just use white) into a ball, I work normally with a base about the size of a malteser. Once your ball is made roll one end down to form a cone shape. Next bend a small hook on the top of a piece of the floists wire.
Note: the wire must be strong enough to support the weight of your finished rose, this is why I recommend 30 gauge as it will normally support an average sized rose.
Next dip the bent end of your wire into the edible glue. Then place the glued end of the wire into the base of the cone. Once inserted leave the rose base on the wire to dry overnight, you need both the paste and the glue to dry as the weight of the petals will lead it to fall off the wire if it is not fully hardened and glued in place.
Note: the size of your rose base will dictate the size of the rose you make, so for smaller buds you need a smaller rose base and smaller rose petal cutter.
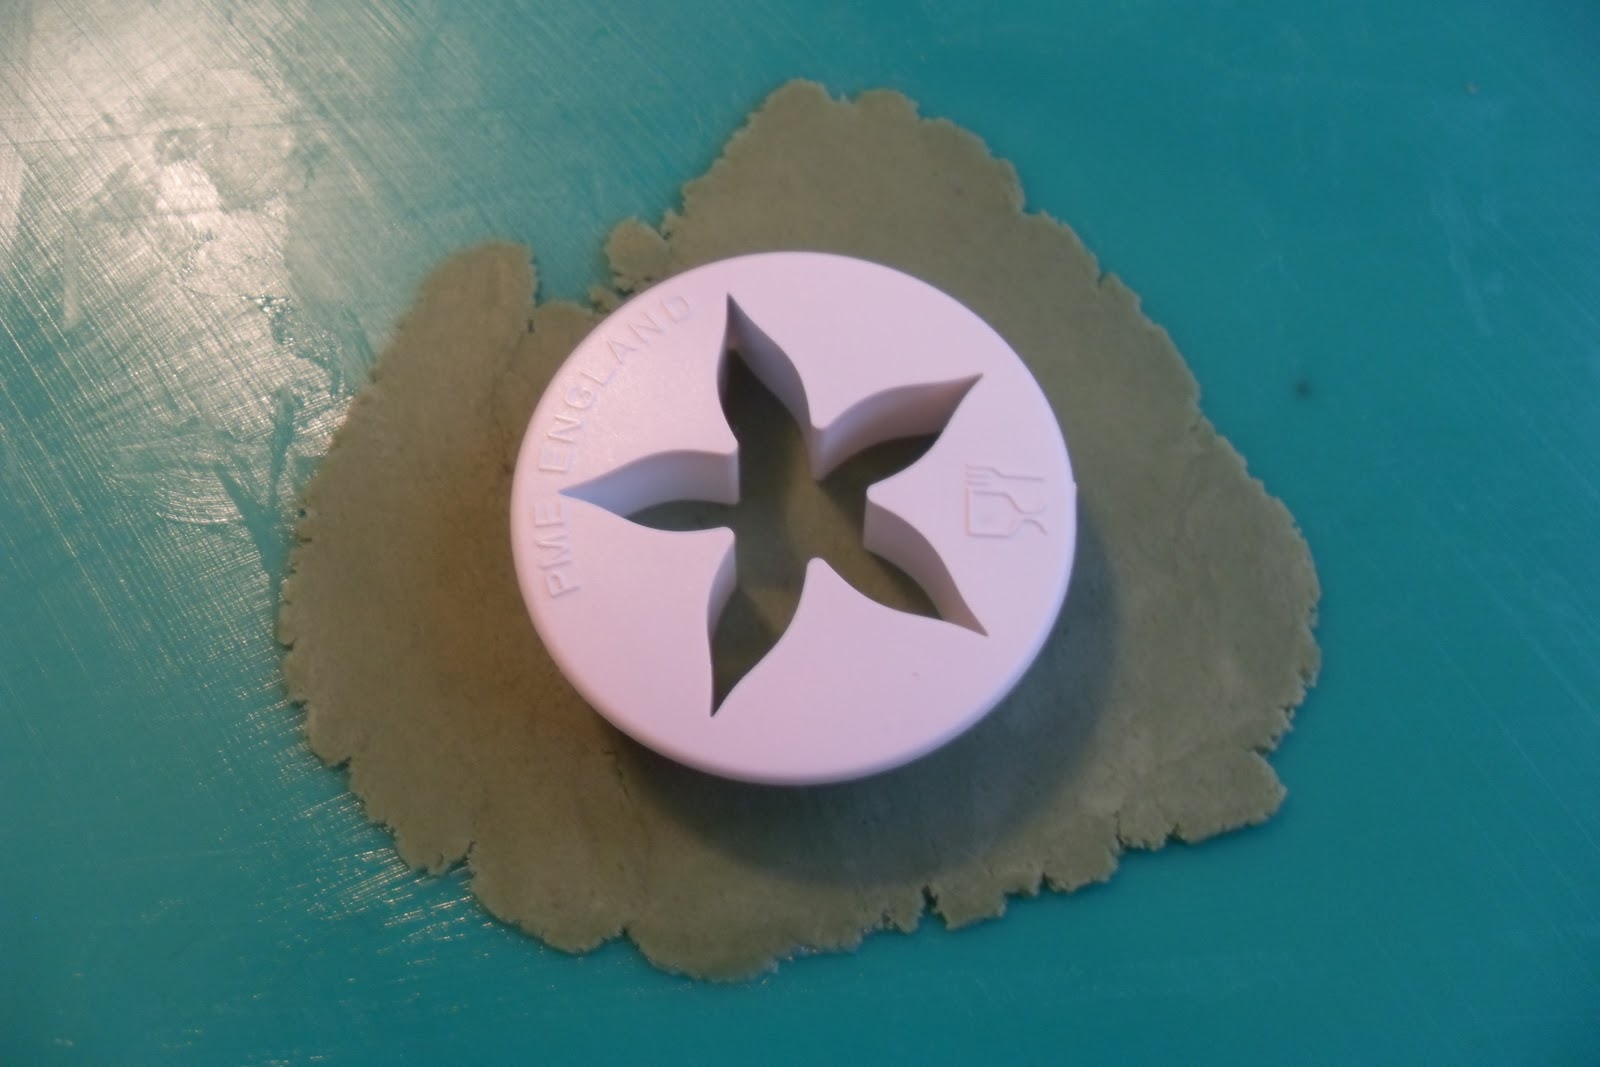
2. First 2 petals: Once your rose base has dried (and the glue attached to the wire is dry) you can make your first two petals. Roll your sugarpaste (whatever colour you prefer) relatively thinly and cut out two petals and place them on your foam pad.
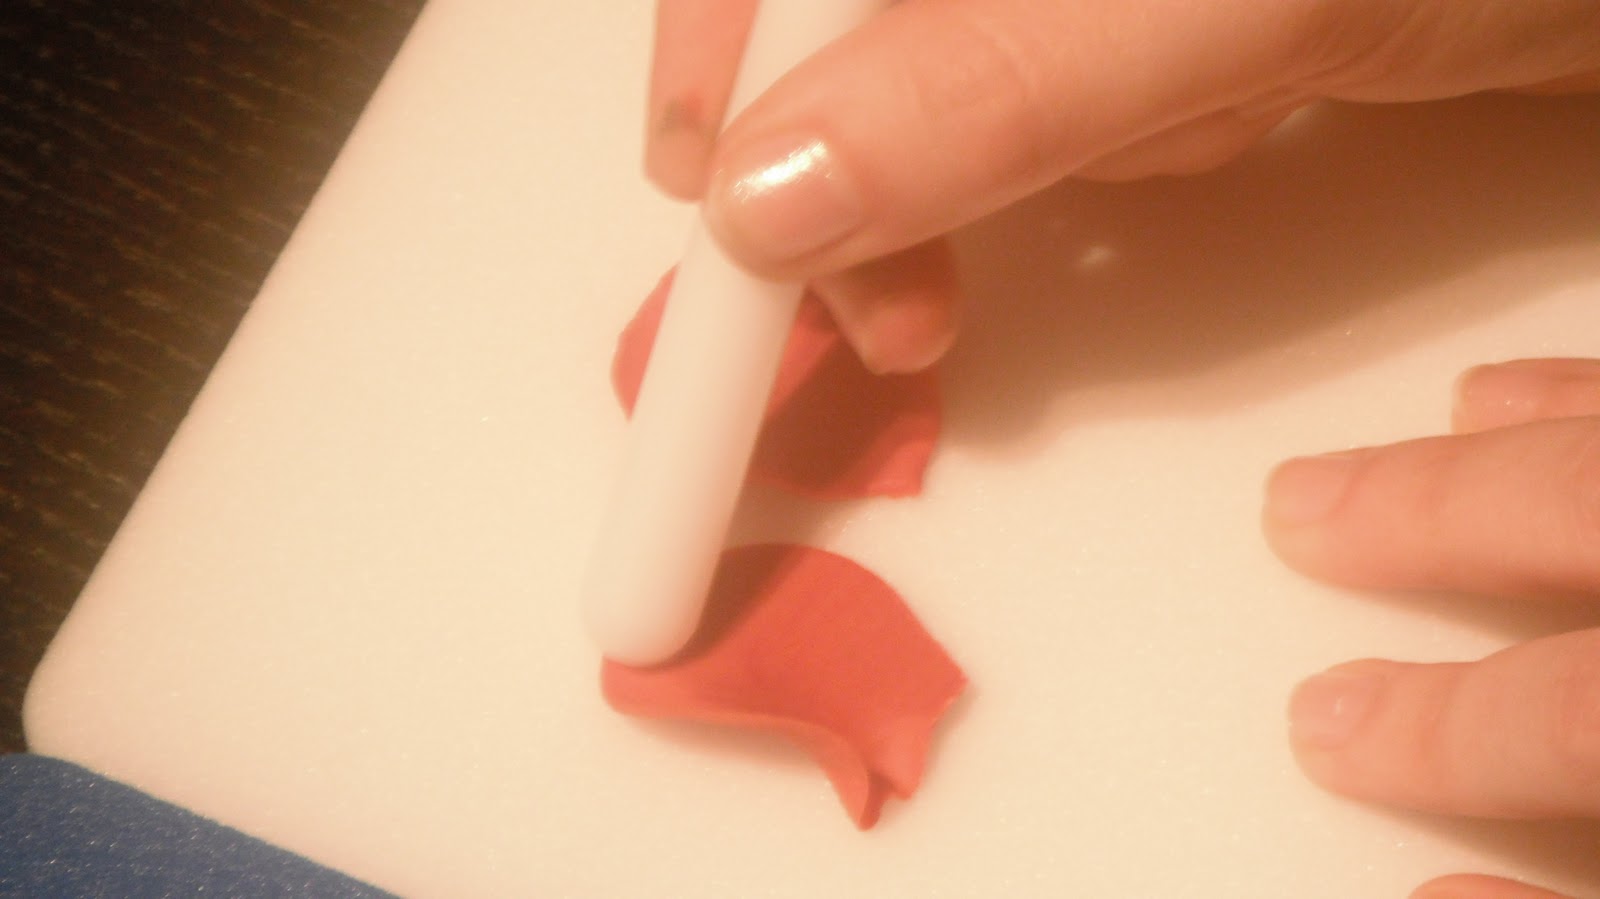
Next use the tip of your smaller rolling pin to roll around the edge of each petal to curl them. You need to keep half the rolling pin on the foam pad and half on the petal to get the best curl. It is generally easiest to start rolling from the tip at the base of each petal and move around the petal edge.
Tip: The trick to this is to apply enough pressure to curl the petal tips but not too much to break the paste.
Once they are curled add glue to the bottom half of each petal using a paintbrush for application. Now you are ready to place your first and the most important petal! Place the glued half of your petal to the base of your cone. Once in place, curl the top of the petal into a '9' shape as looking down on the rose from above.
Once glued in place you can then add your second petal, directly opposite the first and curl around from above to surround the '9' of your first petal. In the end you should have something like the picture below.
3. Next 3 petals: Next cut out another three petals and curl as above. Apply glue to the bottom left corner of each petal.
Attach the third petal to your rose, opposite the second petal. As you have only glued the left hand side of the third petal base, you can then slot the fourth petal under the unglued right hand side of the third petal. Once the third and fourth petals are in place add glue to the rest of the base of the third petal and glue down (on top of the fourth). Repeat the above process with the fifth petal (slotting underneath the fourth). Finally glue the fifth petal down the whole way round. You should end up with something similar to the picture below, where you can easily tell the petals are overlaid on top of eachother.
4. More petals: Now you have your first five petals you can now add as many more as you want. These petals can all be added by gluing the bottm half of each and you shoudl not need to overlap these petals as you did with the 3rd-5th petals added. Add these petals moving around the rose until you feel your rose is finished.
5.Final Rose: Now you have your finished rose you do not need to worry if your rose base is still partly visible, it will be covered by foliage when the calyx is added to the base of the rose.
I will show you how to make the foliage, calyx and leaves and finish your rose off in another post. I hope you enjoyed this post and found it easy enough to follow. Enjoy making many roses in the future. I have now made quite a few in various shapes, sizes and colours, and plan to make many more in the future.


